Home » Training » Trailer Glossary » Blind Rivet
Blind Rivet
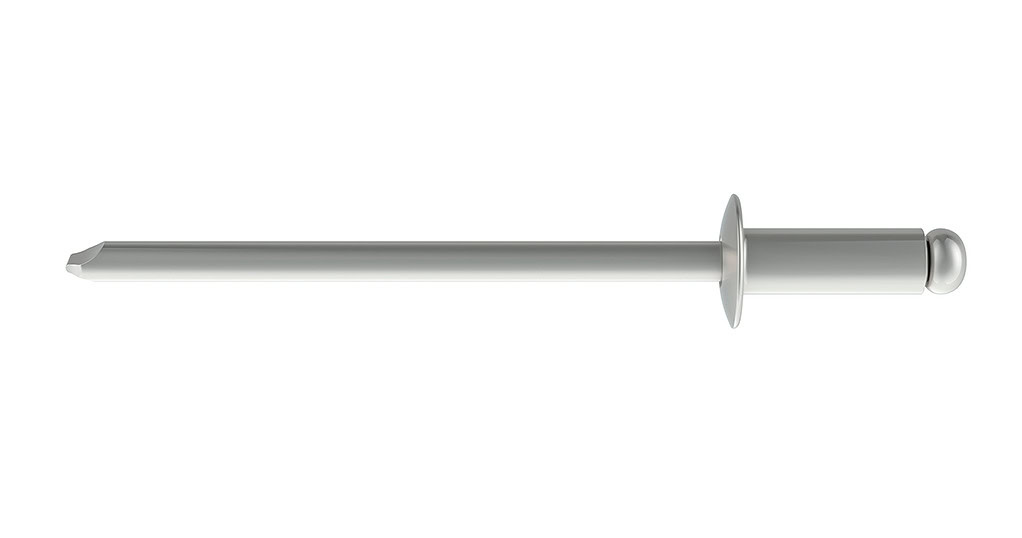
A blind rivet, also known as a pop rivet, is a type of fastener used to join two pieces of material together when access to the rear (blind side) of the joint is not possible. It consists of two main parts: the rivet body (also called the shell or hat) and the mandrel (or stem).
Blind rivets are available in stainless steel, nickel copper alloy (Monel), copper, and several grades of aluminum
Types of Blind Rivets
Standard
Description: These are the most common type, featuring a simple design with a cylindrical body and a mandrel.
Materials: Typically made from aluminum, steel, or stainless steel.
Uses: Ideal for general-purpose applications where strength and durability are required.
Peel-Type
Description: These rivets have a unique design that causes the body to split into four petals when installed, providing a larger bearing surface.
Materials: Often made from aluminum.
Uses: Suitable for soft or brittle materials like plastic or wood.
Bulb-Type
Description: These rivets expand into a bulb shape on the blind side, offering a strong hold.
Materials: Commonly made from aluminum or steel.
Uses: Used in applications requiring a strong, vibration-resistant joint.
Closed-End
Description: These rivets have a sealed end, preventing liquids or gases from passing through the rivet hole.
Materials: Typically made from aluminum or stainless steel.
Uses: Ideal for applications where sealing is important, such as in automotive or marine environments.
Multi-Grip
Description: These rivets can accommodate a range of material thicknesses, reducing the need for multiple rivet sizes.
Materials: Usually made from aluminum or steel.
Uses: Versatile and useful in applications with varying material thicknesses.
Blind Rivet Installation
- Drill a Hole
- Use a drill bit that matches the diameter of the rivet. Drill a hole through the materials you want to join.
- Insert the Rivet
- Place the rivet body into the drilled hole. Ensure it fits snugly.
- Prepare the Rivet Gun
- Insert the mandrel of the rivet into the rivet gun. Make sure the gun is properly loaded and ready to use.
- Set the Rivet
- Position the rivet gun so that the nosepiece is against the rivet head. Squeeze the handles of the rivet gun to pull the mandrel through the rivet body. This action causes the rivet body to expand and grip the materials.
- Snap the Mandrel
- Continue squeezing the rivet gun handles until the mandrel snaps off. This indicates that the rivet is fully set and secure.
- Inspect the Rivet
- Check the rivet to ensure it is properly installed and that the materials are securely joined.